Background cleanup

Replace a cluttered background without touching the subject

Bench photographs arrive with a benchtop, a gloved hand and a stray ruler in frame; scanned panels arrive on a gray that shifts across the page. Sign in, upload the image, and pick a ground — the instruction asks the model to replace the background only and to leave the specimen exactly as it is, because that specimen is evidence. Read the research-integrity note below before you use this on raw experimental data.

Lägg till referensbildMax 1 bilder

Förinställning

Visa fullständig prompt

När du har loggat in kan du ladda upp referensbilder och använda dem för att skapa nya bilder.

GPT Image 2 · Behåll originalets proportioner · 1K · Förbrukar 90 poäng

Vill du styra modell och parametrar själv? Gå till den generella generatorn

Generering kräver inloggning – skriv din prompt först, och logga in för att generera.

Multiple AI models

GPT Image 2, Nano Banana, Seedream 5, Flux 2 Pro and more — pick the right one per figure.

Up to 4K export

Render at 1K, 2K or 4K for print-ready manuscript output.

Text & sketch to figure

Start from a prompt, or refine a rough hand-drawn sketch.

Free to start

Free account in seconds — every figure is saved to your private history.

Background cleanup

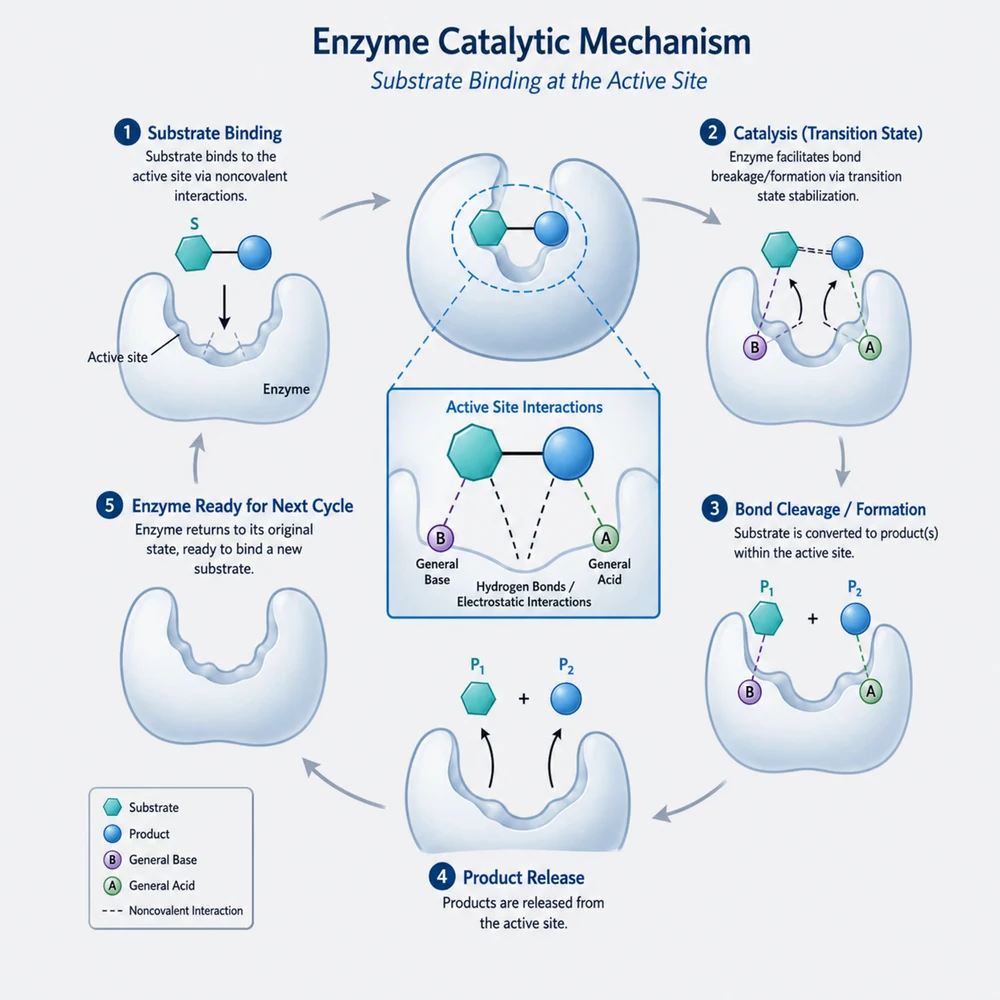
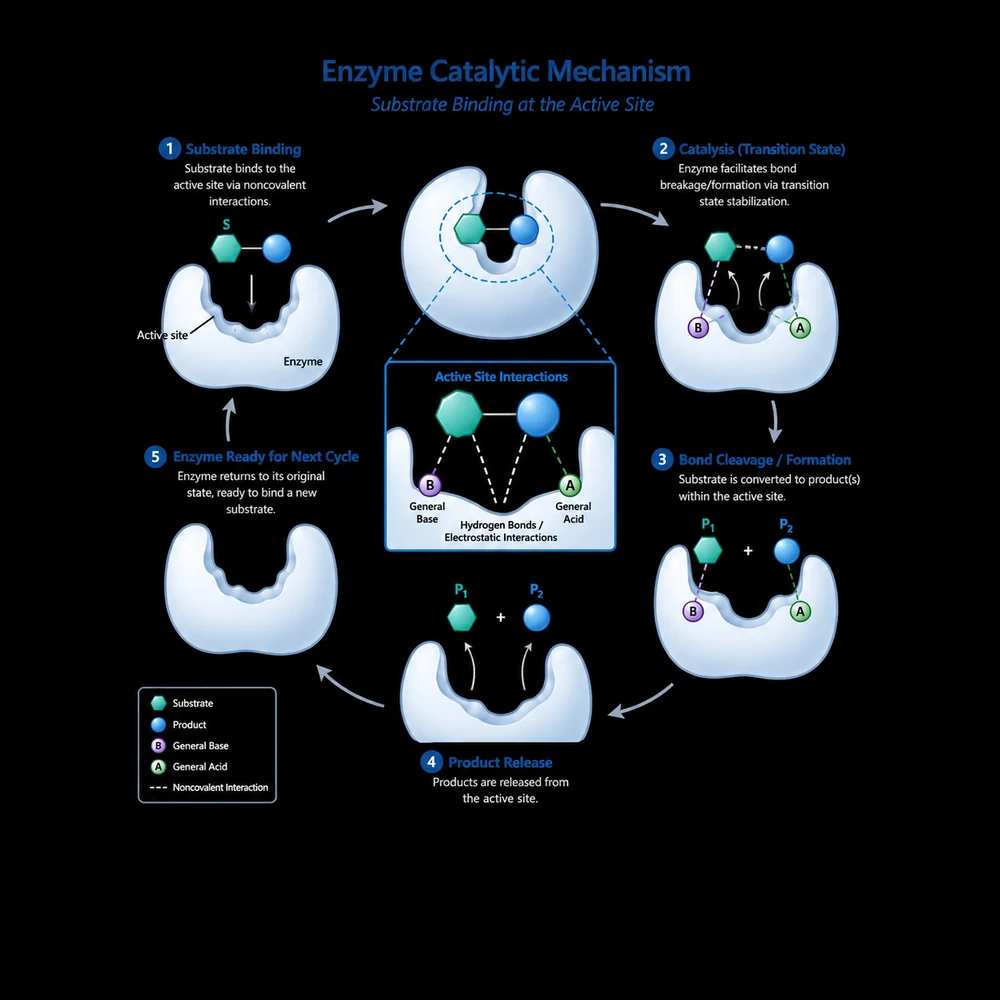
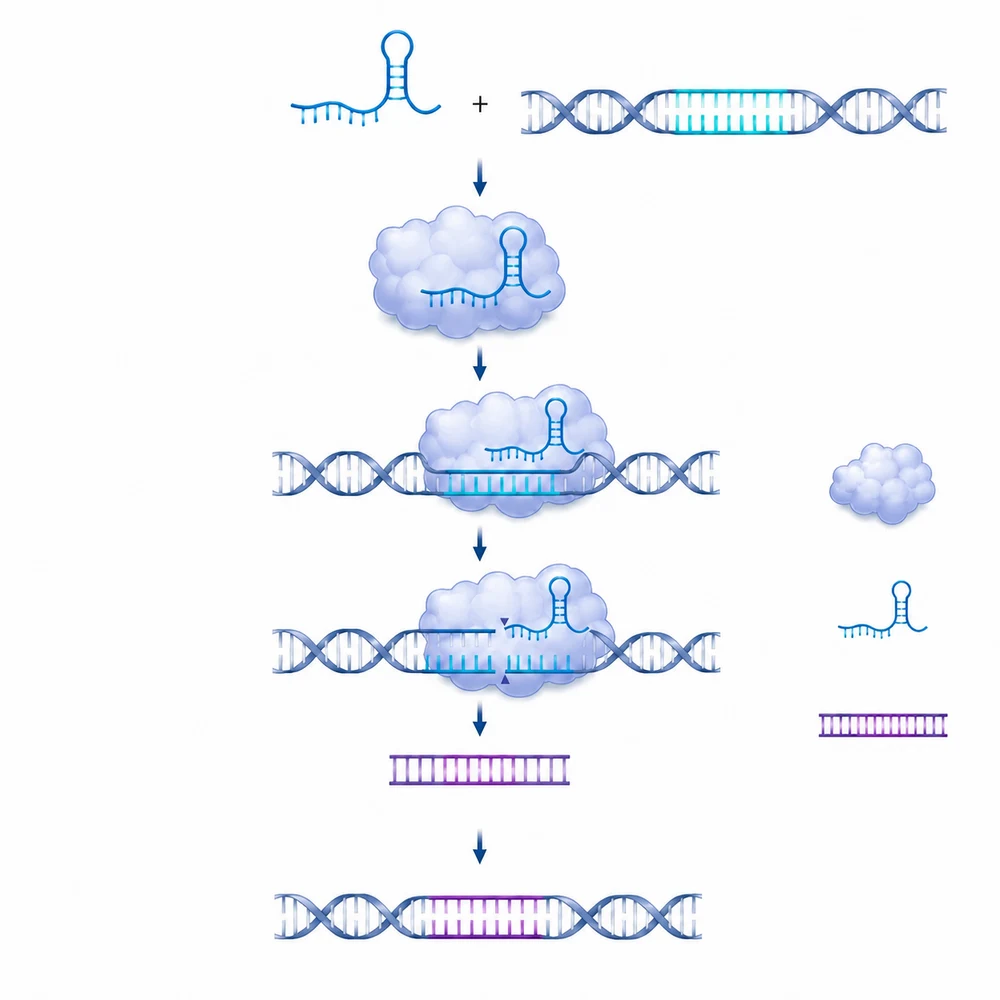
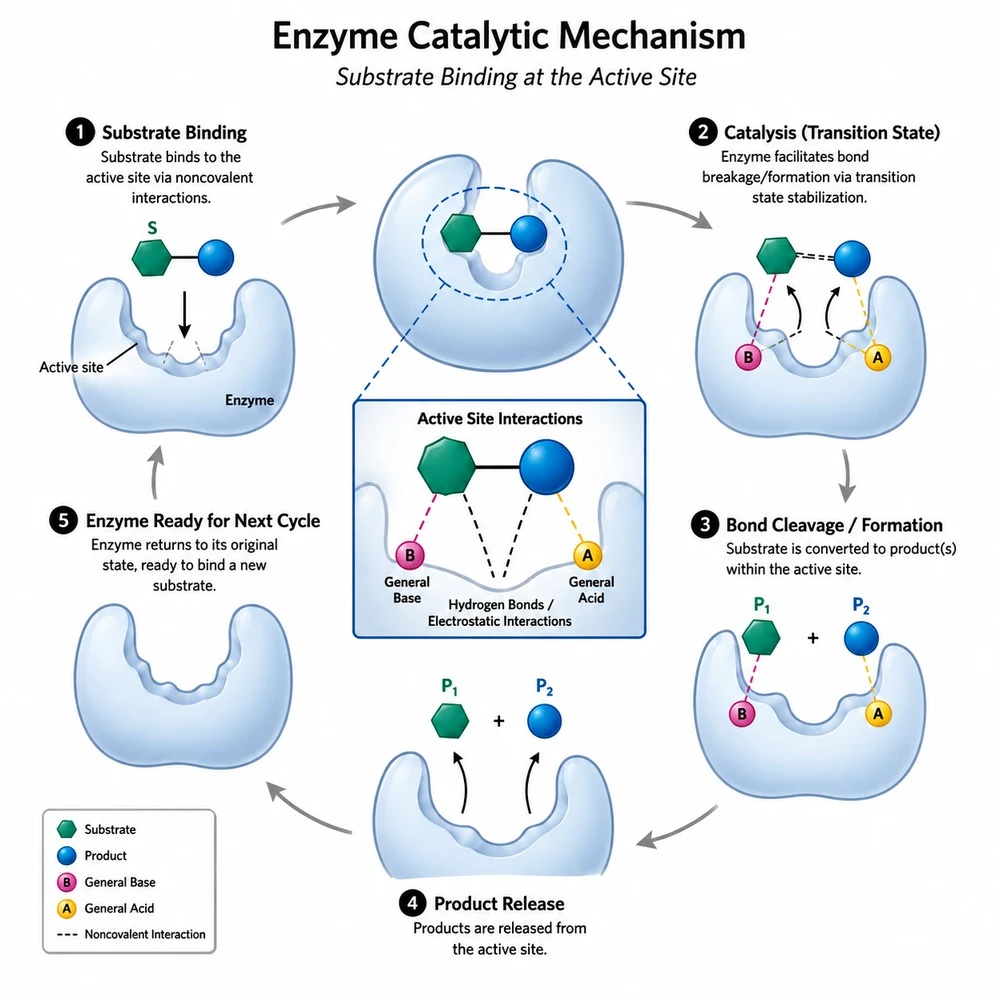
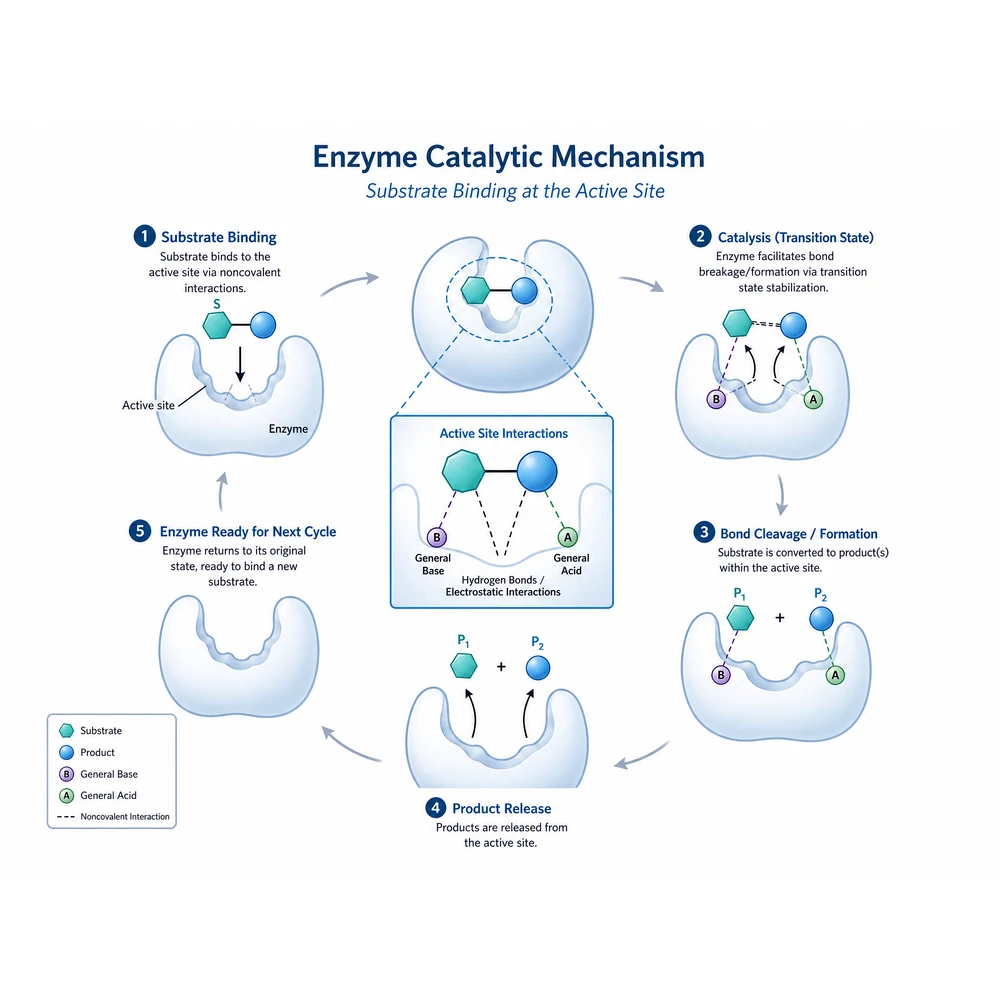
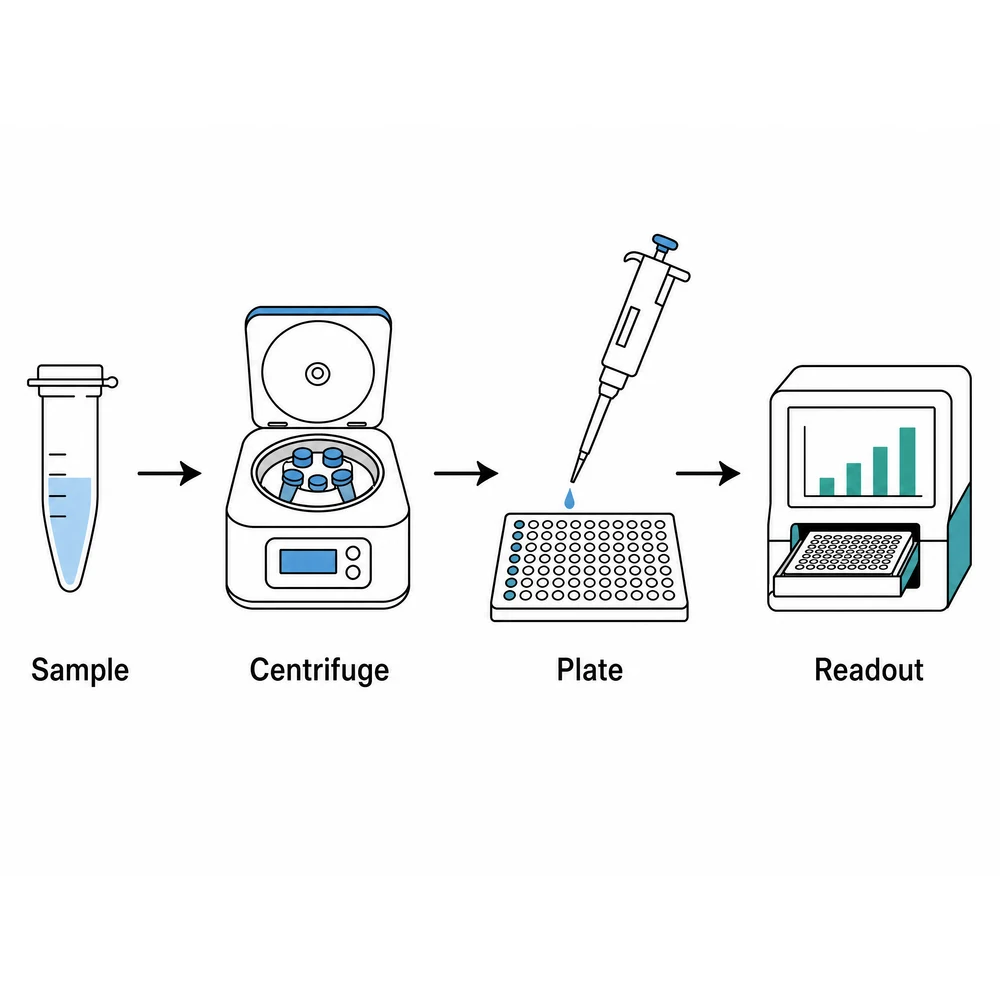
The same panel on four grounds

These examples show what each preset does to one source image. They illustrate the ground each cell targets — they are not a guarantee that your specimen will be returned untouched, which is why every result has to be compared with the original.

Cleanup workflow

Swap the ground, then prove the subject is unchanged

The same specimen isolated on white with the benchtop, hands, rulers and stray objects removed1

Upload the image you already have

This is an image-to-image tool, so sign in first, then upload one image — a micrograph, a gel scan, a specimen photograph or a piece of equipment on the bench. The aspect ratio is left on automatic so the specimen keeps its own framing; cropping a micrograph would change what the image claims to show. Work from the original capture rather than a screenshot, and keep that original file.

  • Upload one image at a time
  • Use the original capture, not a screenshot or a slide export
  • Keep the unprocessed original and its acquisition metadata
  • Note the acquisition settings you will need for the figure legend
A specimen photograph moved onto a pure white background2

Pick the ground the panel actually needs

White is the default and suits a specimen or piece of equipment that will sit in a body figure. Light gray separates a pale subject from the page without the hard edge a white-on-white boundary produces. Black is not decoration: fluorescence and electron microscopy panels are conventionally shown on black, and forcing them white destroys the very signal they exist to display. Subject only lands on the same white as the first cell but additionally strips the benchtop, hands, rulers and stray objects — it differs in what is removed, not in what is left behind.

  • Check every label and scientific term
  • Verify arrows, structures, and causal relationships
  • Compare the draft with the source data or manuscript
The same specimen on a uniform light gray background3

Not every background is empty — some of it is data

For a photograph of a device or a specimen on a bench, the background is context and swapping it is cosmetic. For raw experimental data it often is not. In a micrograph the background carries exposure and illumination information; in a gel the spacing between lanes, the local film density and the visibly signal-free regions are all part of what a reader uses to judge the result. Replacing that ground can make the image assert something the experiment did not show, which is why journals and integrity offices treat background manipulation of raw data as a serious matter. Use this tool on presentation material, and think hard — or do not use it at all — on primary evidence.

  • Do not run gels, blots or micrographs through this tool as submitted evidence
  • Never use it to remove or flatten a region that carries signal or noise information
  • Declare any processing in the figure legend or methods
  • Retain and be able to produce the unprocessed original
The same specimen on a pure black background, the convention for fluorescence and electron microscopy panels4

Compare the result against the original

The instruction tells the model to preserve the subject exactly, but an image model can still smooth a texture, clip a faint edge into the new ground, soften an outline, or invent a shadow it was told not to add. Put the two images side by side at full size, check the boundary pixel by pixel where the specimen meets the ground, and confirm that no faint feature at the edge of the subject has been absorbed into the background. If anything measurable has moved, discard the result.

  • Zoom to 100% along the whole subject boundary
  • Look for halos, invented shadows and softened edges
  • Confirm faint or low-contrast features at the edge survived
  • Discard the output if any measurable feature changed

Background replacement touches research-integrity rules

This tool only replaces the background; it is instructed not to modify the subject, and it does not alter, add, or reinterpret your data. Even so, any image processing applied to a figure intended for publication should be declared in the figure legend or methods, and the unprocessed original data must be retained and available on request. Be especially careful with raw experimental data: in micrographs, gels and blots the background itself often carries information — exposure and illumination, lane spacing, film density, the regions where no signal was detected — and replacing it can make the image misrepresent what was observed. Because the output is produced by an image model, it can also change details it was told to preserve, so verify the result against the original before use.

Background cleanup questions

Clean up a background

Sign in, upload the image, and move it onto a uniform white, gray or black ground.